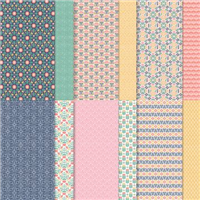
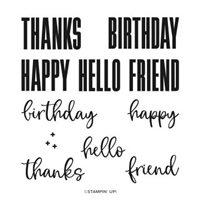
Happy Thursday! Today I am sharing an oldie that I have been waiting to share forever. This project features the Biggest Wish Stamp Set [155052] as well as the Sweet Symmetry Designer Series Paper [155605]. I adore this paper for how bold it is with both colour and pattern. Its from the Annual Catalogue (request one here) so if you don’t already have it – Why not?
Sweet Symmetry Designer Series Paper
Let the folk art designs and motifs in the Sweet Symmetry Designer Series Paper [155605] inspire your creativity. This high-quality printed paper includes traditional, symmetrical folk art images and florals in soft colours. It’s a great choice for cardmaking and scrapbooking. Each sheet is double-sided, giving you twice the crafting options.
Todays Project

This card was fun to make with all the different layers. I created the starburst sign by drawing a dot in the centre of a piece of copier paper. Using this dot as a reference point, draw multiple lines throughout this reference point and you have yourself a template. Then its all about choosing the papers and using the template to cut the shape. I layered this over other coordinating coloured card or Vellum [106584] to add additional layers.

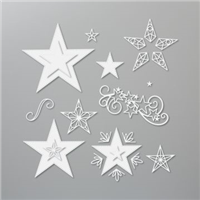
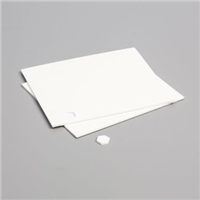
You can imagine where all these layers overlap is a messy and you would be right. That is why you need something to cover it up. One of my favourite’s dies are the Stitched Star Dies [150653] and just work perfectly for this card. I die cut the shape in Basic White Card [159228]. The sentiment come from the Biggest Wish Stamp Set [155052], I fussy cut these out in order to make more of an impact.
Colour Combo
Supply List
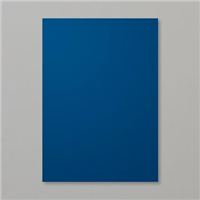
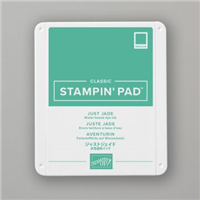
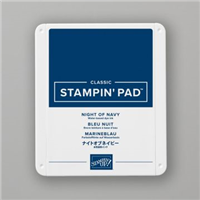
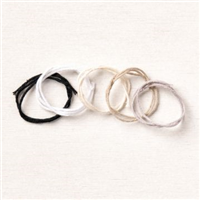
All the supplies used to create this card are available by contacting me or by clicking on the images below. Don’t forget for all orders between £20.00-£99.00 add the Host code for a free gift from me.
For orders of £99/129€, why not purchase the Starter Kit and get £130/175€ worth’s of supplies for just £99/129€.



Love this card, Martin, as I do all your projects. You have a great eye! I didn’t quite follow how you created the shapes for the background. I’d love it if you showed the technique on one of your upcoming videos!